Receiving Image from Meteor M2-4 Weather Satellite
This is a demonstration of receiving an image of Earth from space, from the Russian Meteor M2-4 Satellite. M2-4 is preferred over M2-3 as M2-3 has an issue with its antenna, making it much more difficult to receive its signal.
Equipment used:
RTL-SDR V4 (Any SDR that can receive 137.9 MHz and is compatible with SatDump should work)
Dipole Antenna (mine was included with the SDR)
Laptop with SatDump installed
Tripod (optional but recommended)
Steps conducted:
1. Track the satellite
I used the n2yo website. Wait for the entire page to load (may take >10 seconds). Then click "10-day predictions". The website will automatically calculate and show you when the satellite will pass over your location. It even tells you in your local timezone.
The Satcat website is also useful to see where the satellite is located on a 3D globe.
2. Set up
Open SatDump on your laptop. Select the "Meteor M2-x LRPT 72k" pipeline. Go to the "Recorder" tab and select your RTL-SDR V4 as the receiver. Use the following configuration:
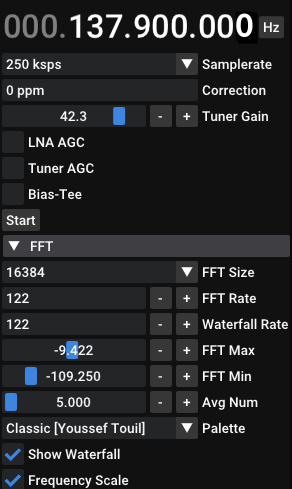
Note: The "Tuner Gain" differs depending on many factors. It should be set higher if a sync cannot be established.
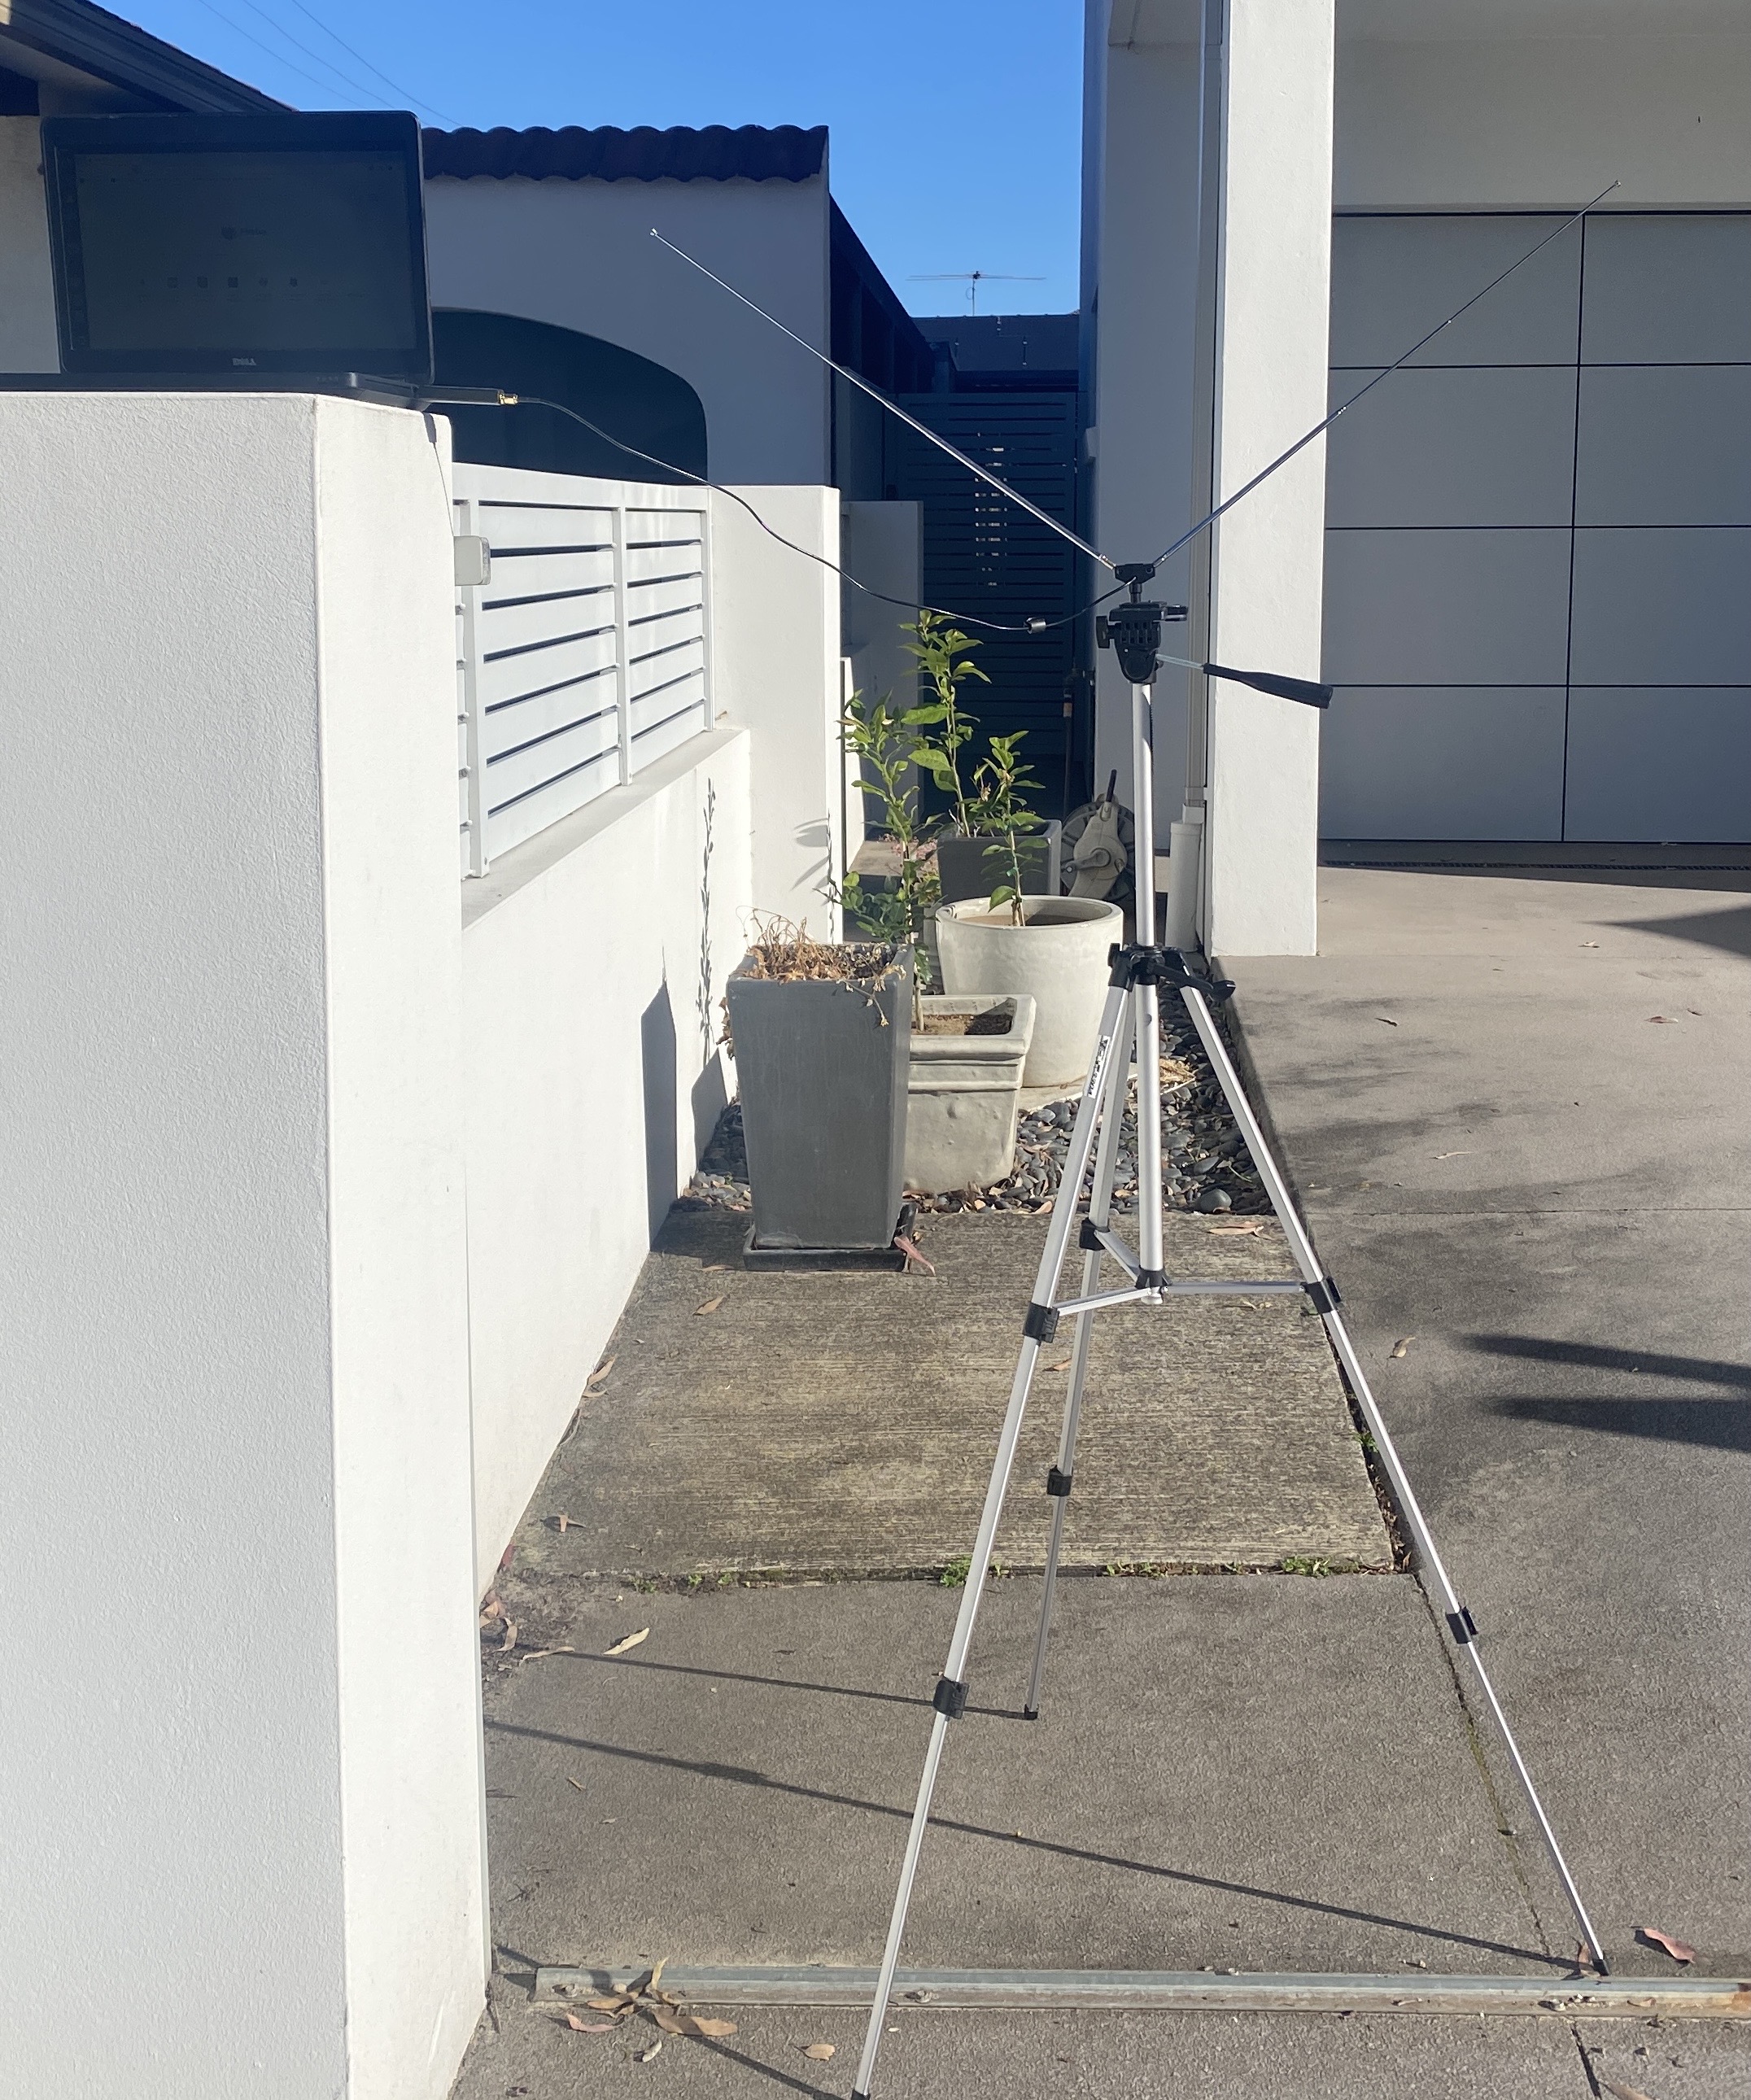
10-15 minutes before you know the satellite will begin passing over you, go outside somewhere with a clear view of the sky. Screw your antenna onto a tripod (or just hold it up). Make the antenna be in the North-South direction (the side where you can see the "V" should be facing North or South. This is because the M2-4 satellite travels North and South). Connect your dipole antenna to your SDR, and extend each dipole pole to 52cm. Make a gap of 120 degrees between the two poles, so that they make a wide V-Shape. Refer to image below:
Then click Start in the "Device" dropdown, as well as Start in the "Decoder" dropdown. You should see something like this:
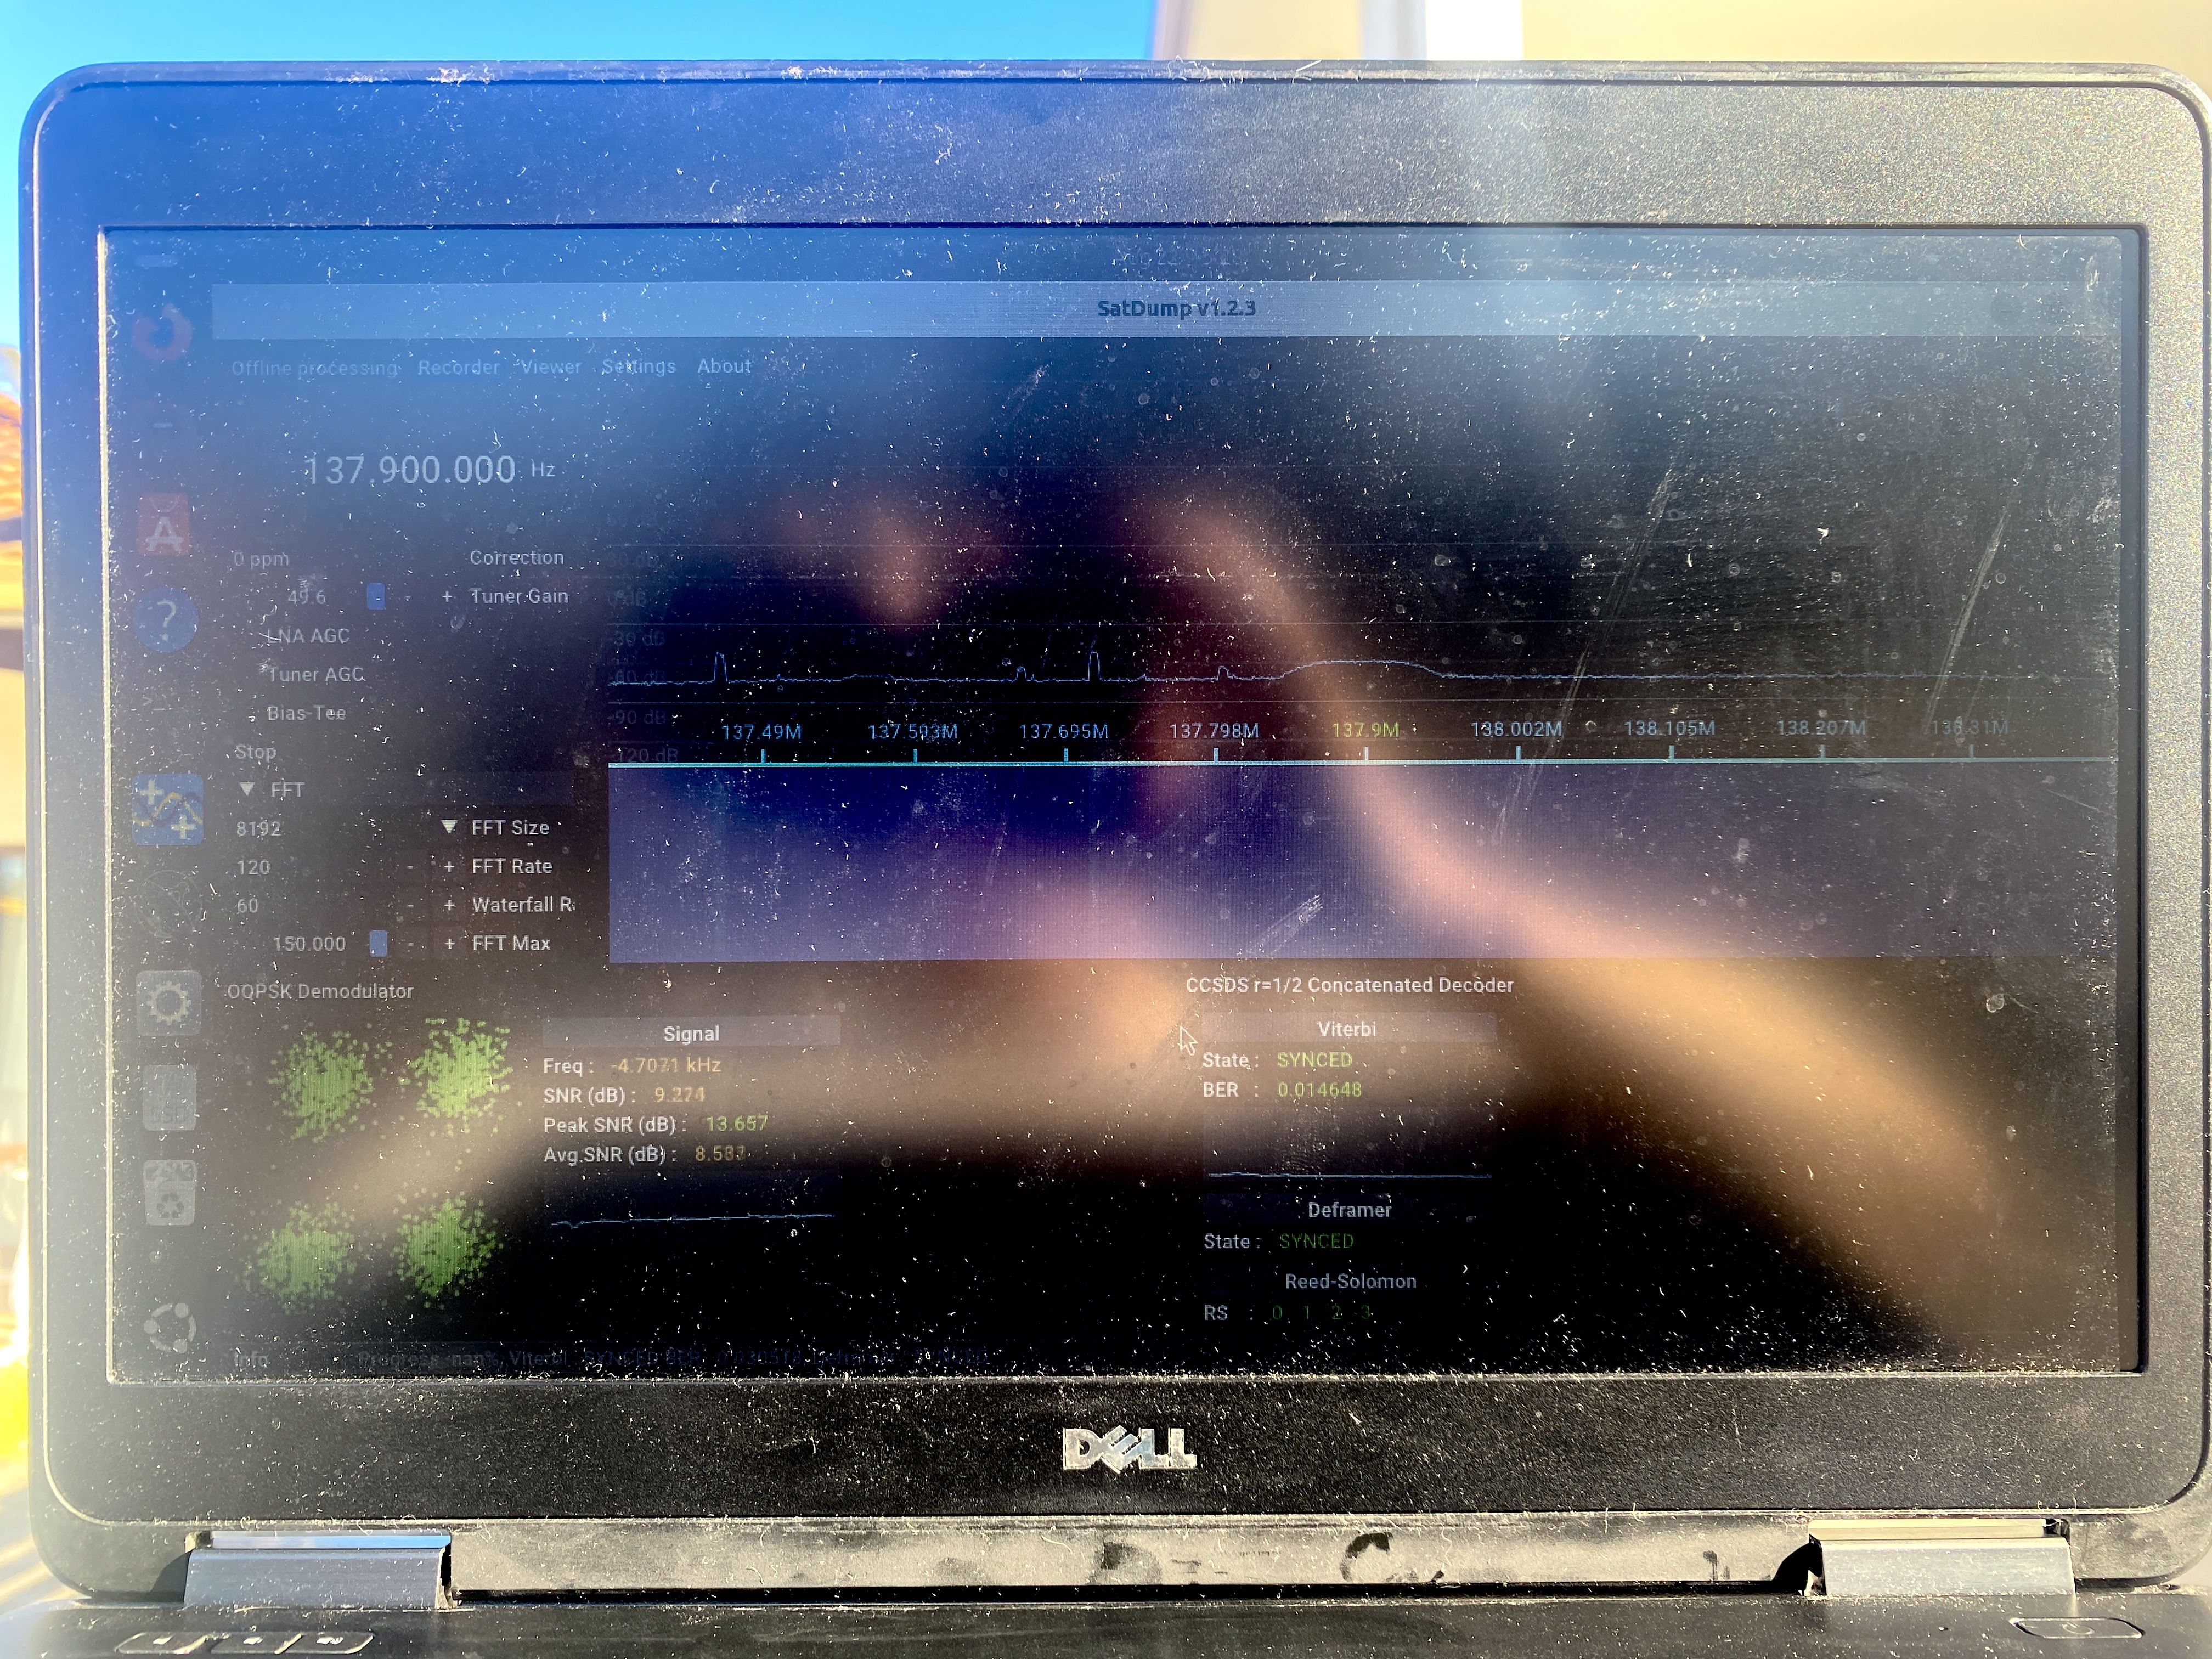
Don't worry if it says the satellite is not synced. Wait until the entire pass completes and you should get a sync for at least a few minutes if your antenna is set up correctly and you have a clear view of the sky.
Once the pass is complete, click Stop for all the items you started before.
The go to the viewer tab. You should be able to see the images which you received from the satellite. The M2-4 satellite transmits 3 channels of images that appear greyscale, however when combined they form a colour image. SatDump can combine these images for us. In the viewer tab, just select the "AVHRR 221" colour preset and you will get a coloured image!
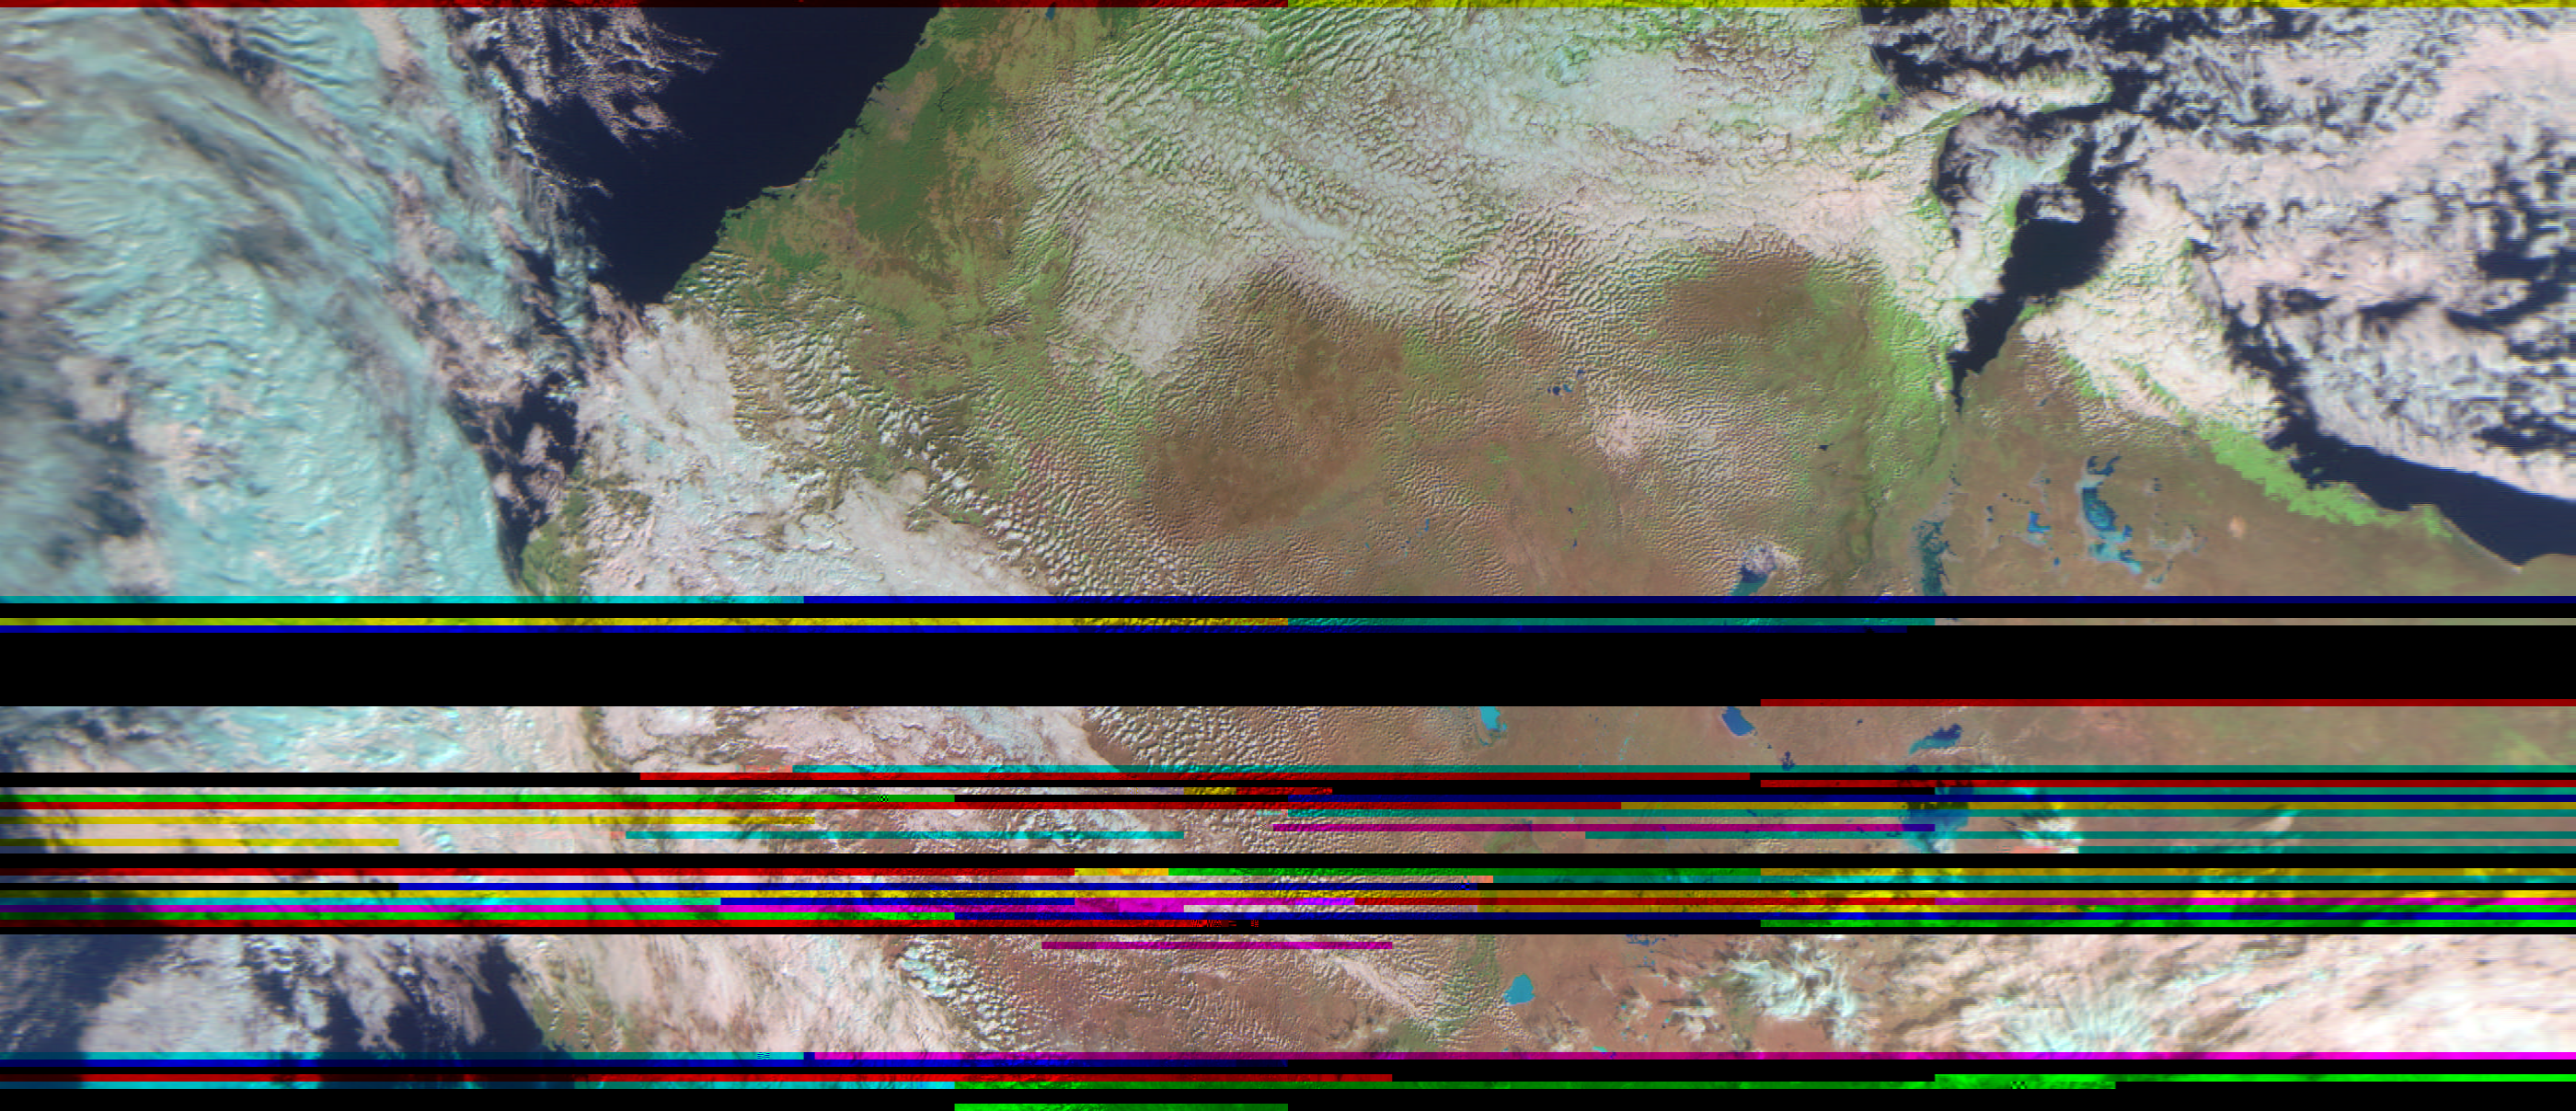
After colourising your images, go to your SatDump output directory (find this in the Settings tab) and find the images. Here is what I received once colourised:
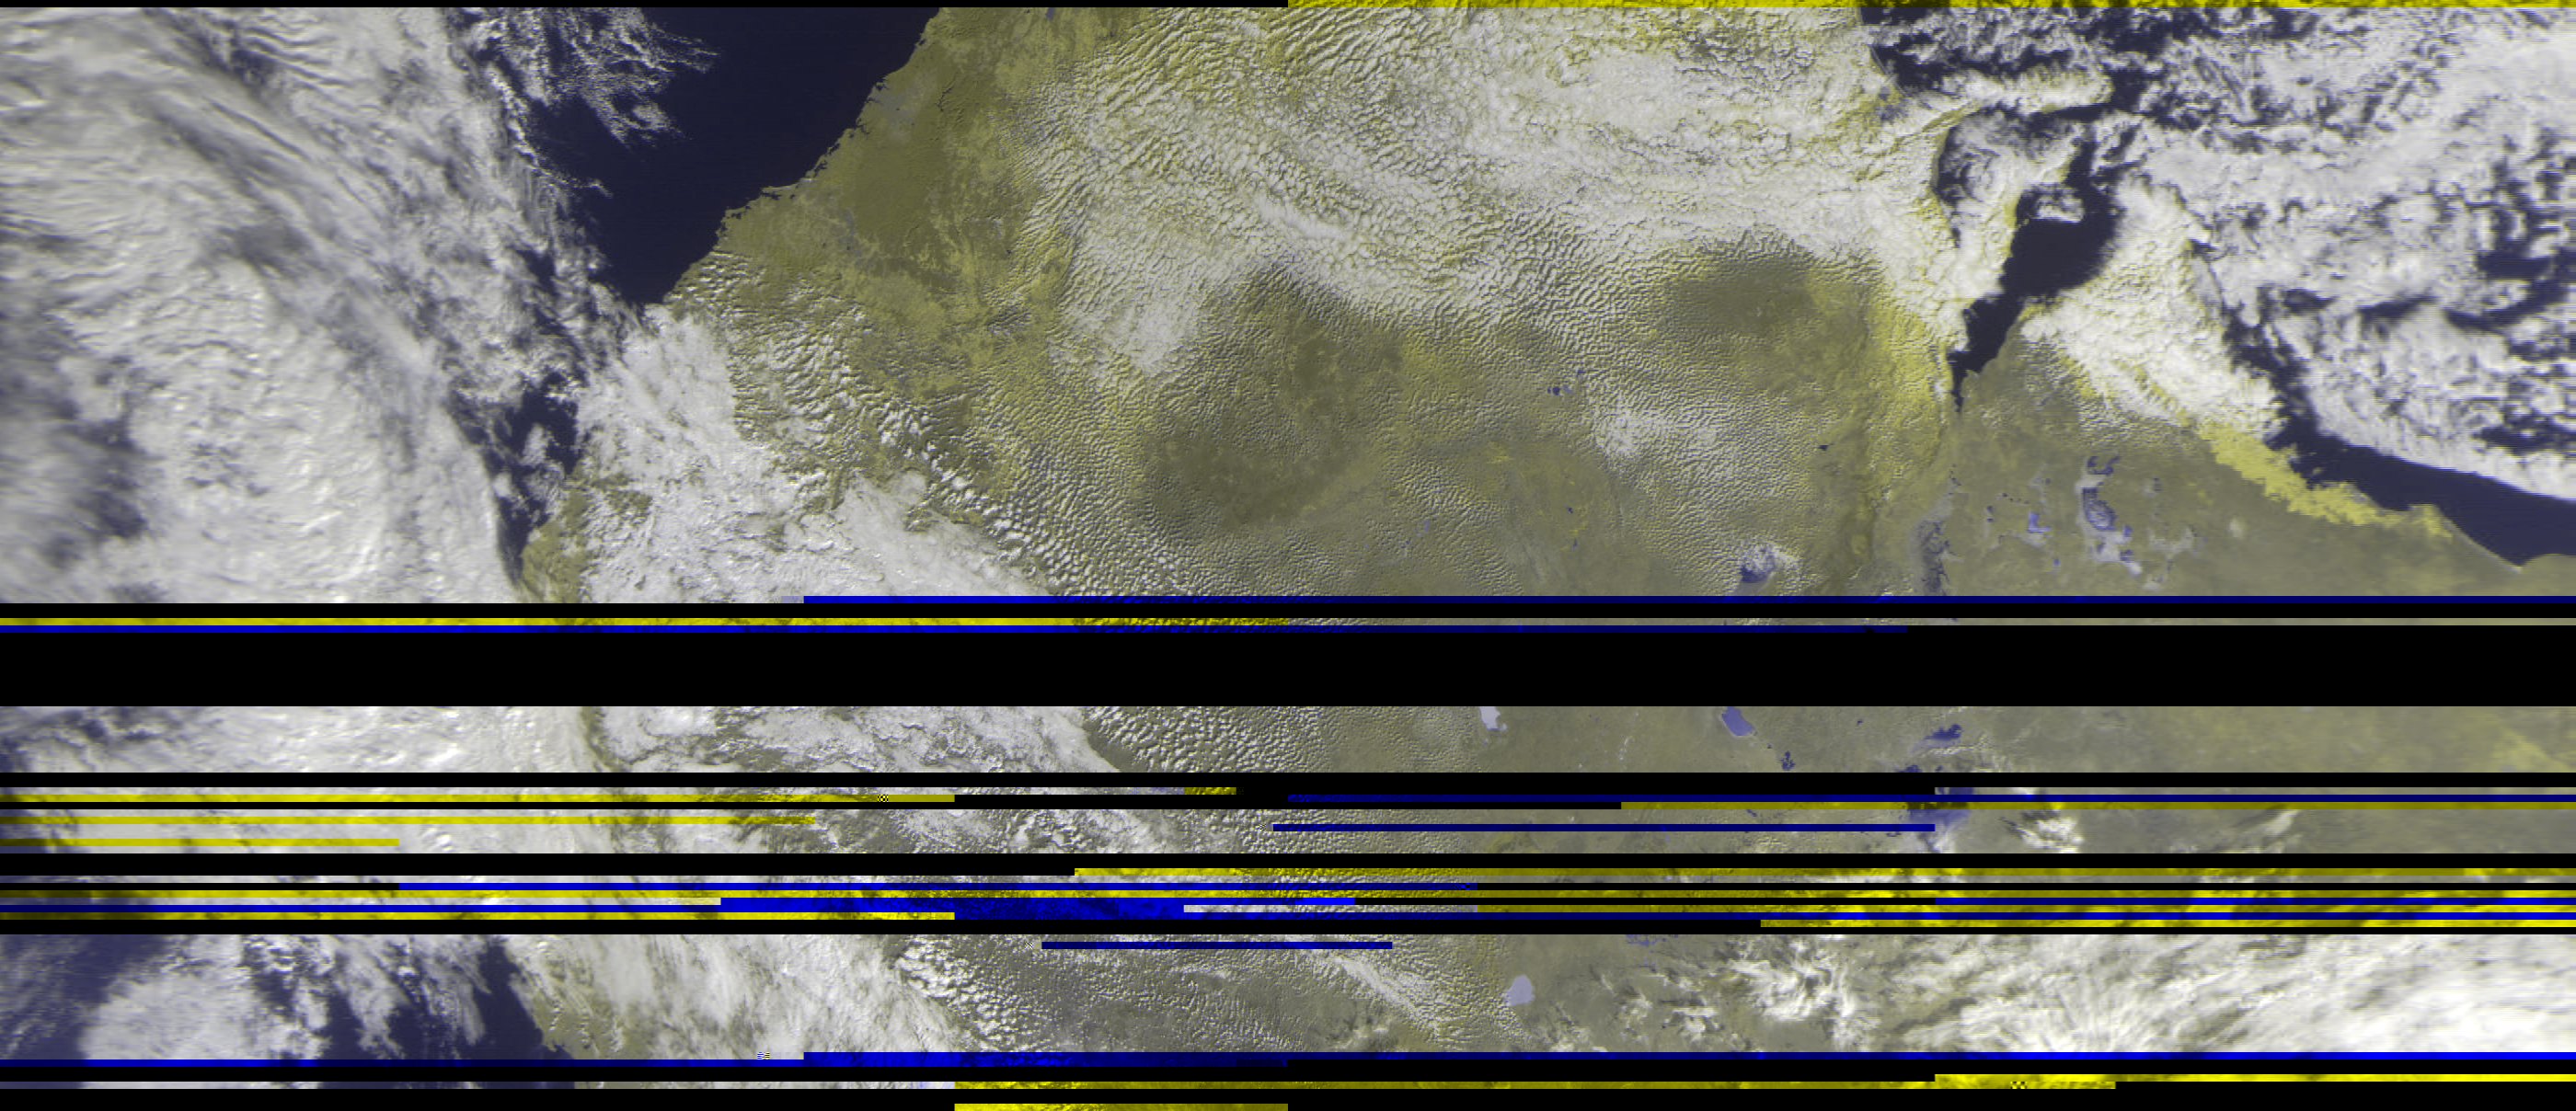
The black lines is due to me setting the gain too low while receiving, leading to a loss in signal.
You may also notice an image with a 4:3 aspect ratio. This is what the satellite transmits, however SatDump automatically corrects this to the proper aspect ratio.
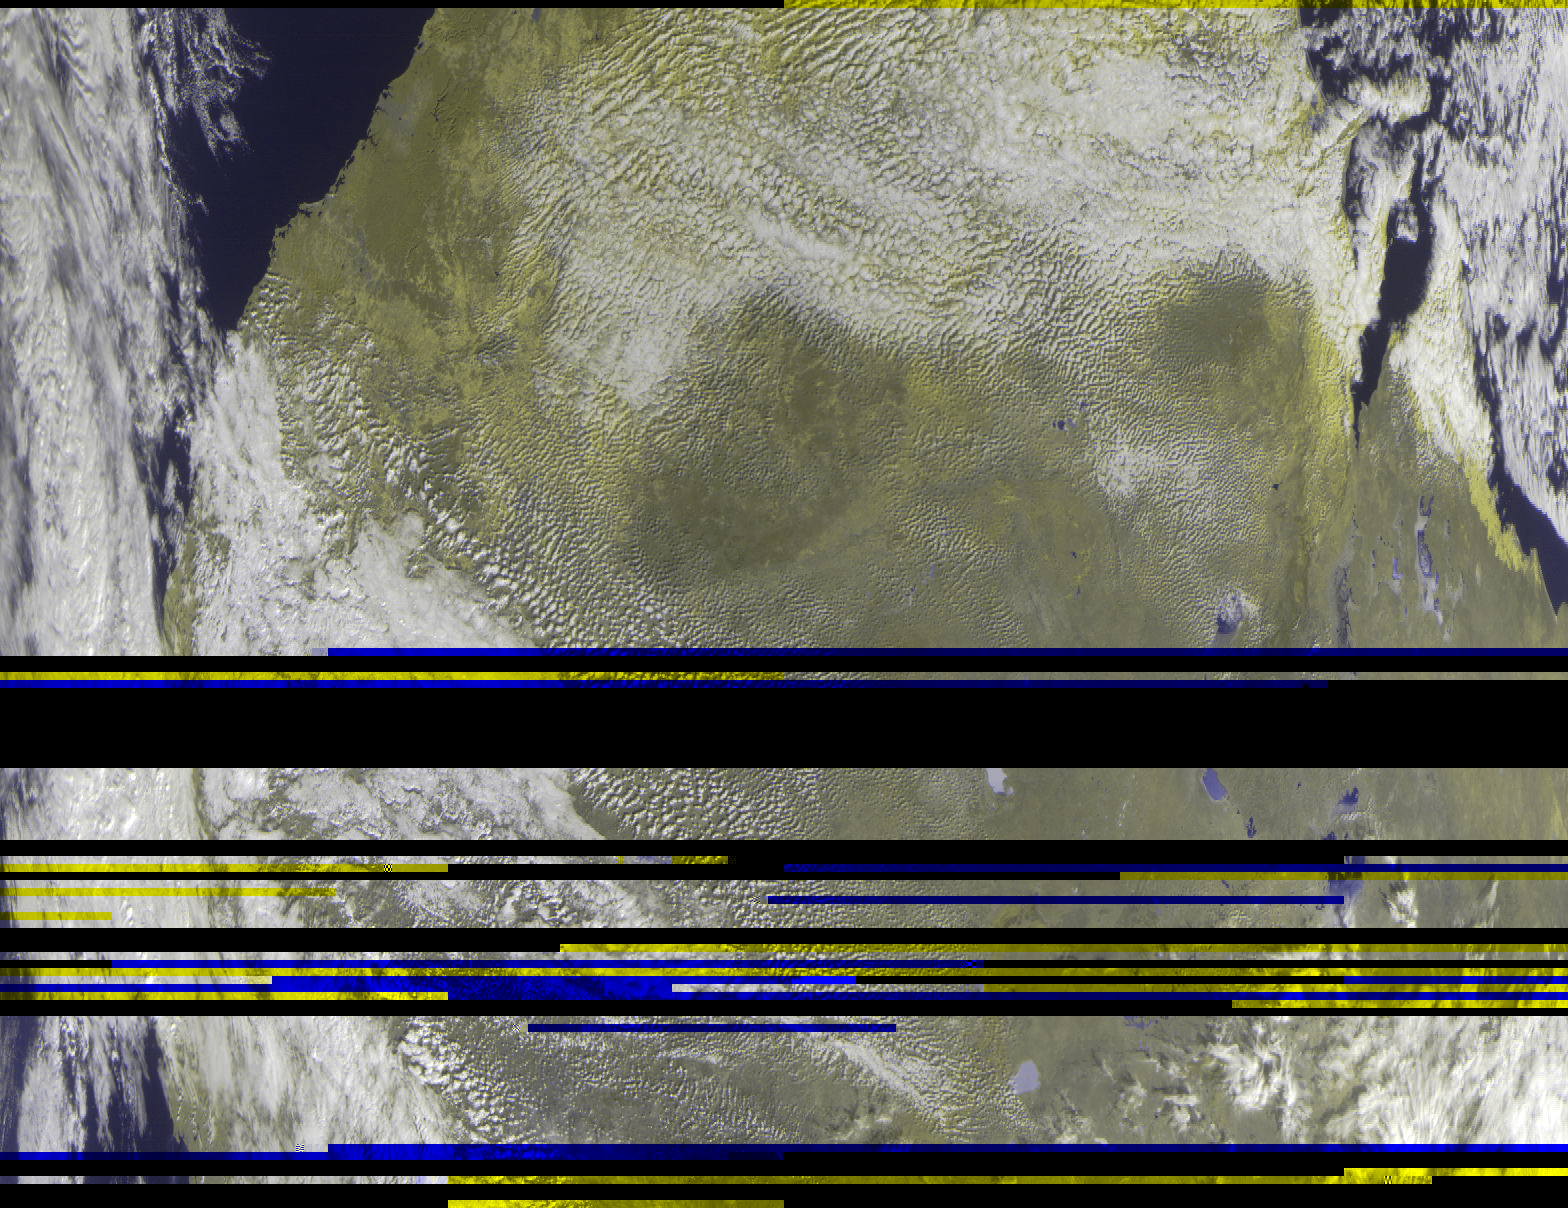
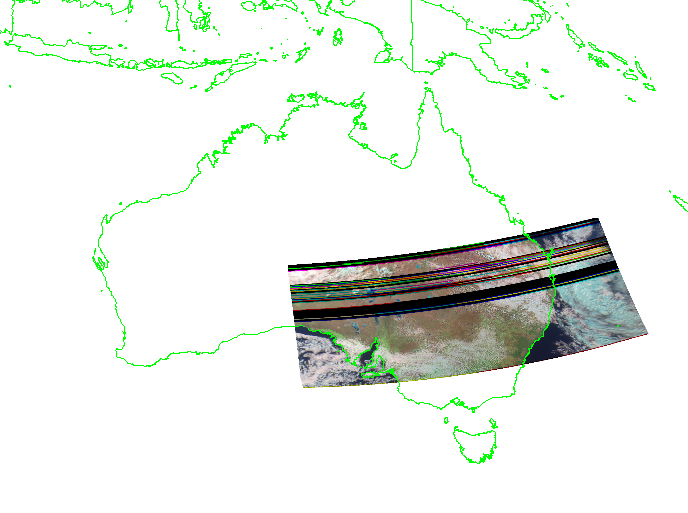
SatDump can also make a projection of your image over a map, utilising location data transmitted from the satellite.
If you try using the "AVHRR_3a21" colour profile, you will still get a colourised image, however the colours are off as this profile is not designed for the M2-4 satellite.
Thank you for reading till the end!
THE END
